Thursday, October 14, 2010
Halloween Embellished Onesie Tutorial
Tuesday, October 12, 2010
Monday, October 11, 2010
Sewing Room Makeover
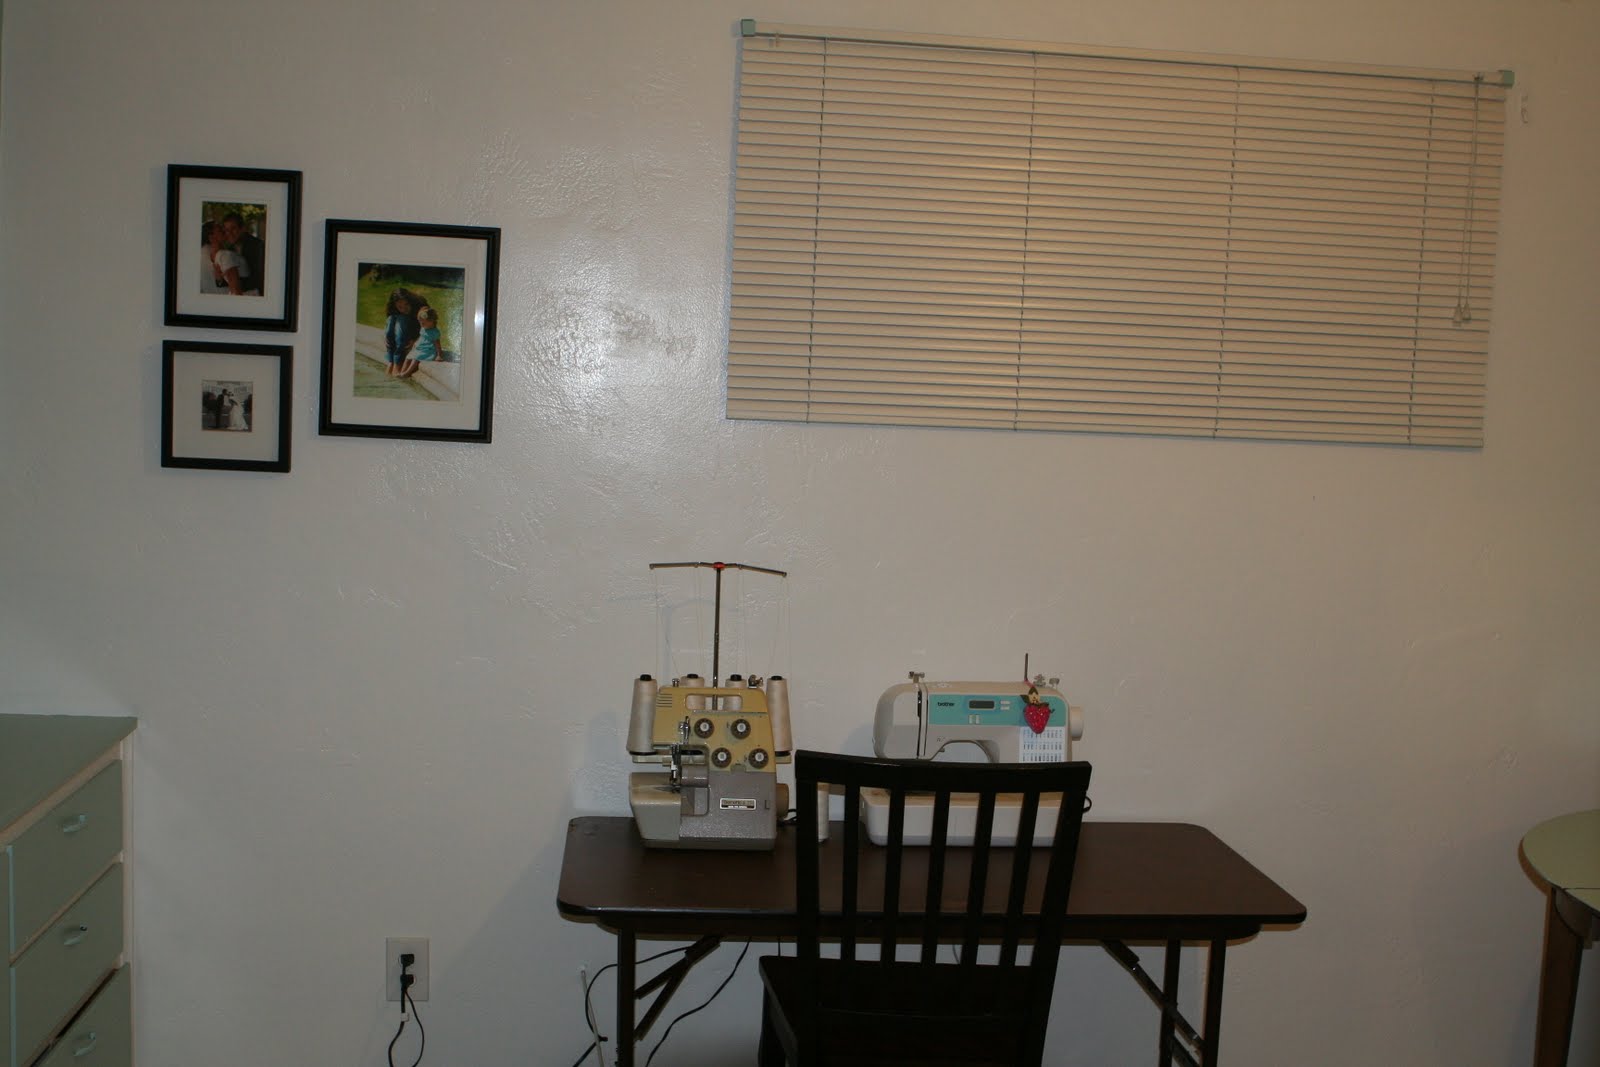
Before:


This weekend my dad came into town and helped me give my sewing room a MAJOR makeover :) I LOVE LOVE LOVE the way it turned out!!! The "before" was not so pretty, but the "after" turned out beautifully. I love my dad for coming here and making it all happen.
After:
Here I am with my dad after we finished. Isn't it pretty? Too bad the color isn't really showing up right in the pictures. Its such a soothing room to be in and an even better room to create in. This wall is definitely my favorite. I can't believe we were able to cover the black with just one coat of paint.

So many shelves, drawers, and cupboards to fit all my stuff :) It's a dream come true! You should have seen how cluttered all my stuff was in Puerto Rico. I had a fold up table and everything else was stuffed in a bin or in a big pile next to my table. Now everything feels so clean and organized.

Remember the blue blinds? Well, my dad spray painted them! I'll only be here for 9 months so it was a great quick fix. This is my accent wall.


This weekend my dad came into town and helped me give my sewing room a MAJOR makeover :) I LOVE LOVE LOVE the way it turned out!!! The "before" was not so pretty, but the "after" turned out beautifully. I love my dad for coming here and making it all happen.
After:
Here I am with my dad after we finished. Isn't it pretty? Too bad the color isn't really showing up right in the pictures. Its such a soothing room to be in and an even better room to create in. This wall is definitely my favorite. I can't believe we were able to cover the black with just one coat of paint.
So many shelves, drawers, and cupboards to fit all my stuff :) It's a dream come true! You should have seen how cluttered all my stuff was in Puerto Rico. I had a fold up table and everything else was stuffed in a bin or in a big pile next to my table. Now everything feels so clean and organized.
Remember the blue blinds? Well, my dad spray painted them! I'll only be here for 9 months so it was a great quick fix. This is my accent wall.
Friday, October 8, 2010
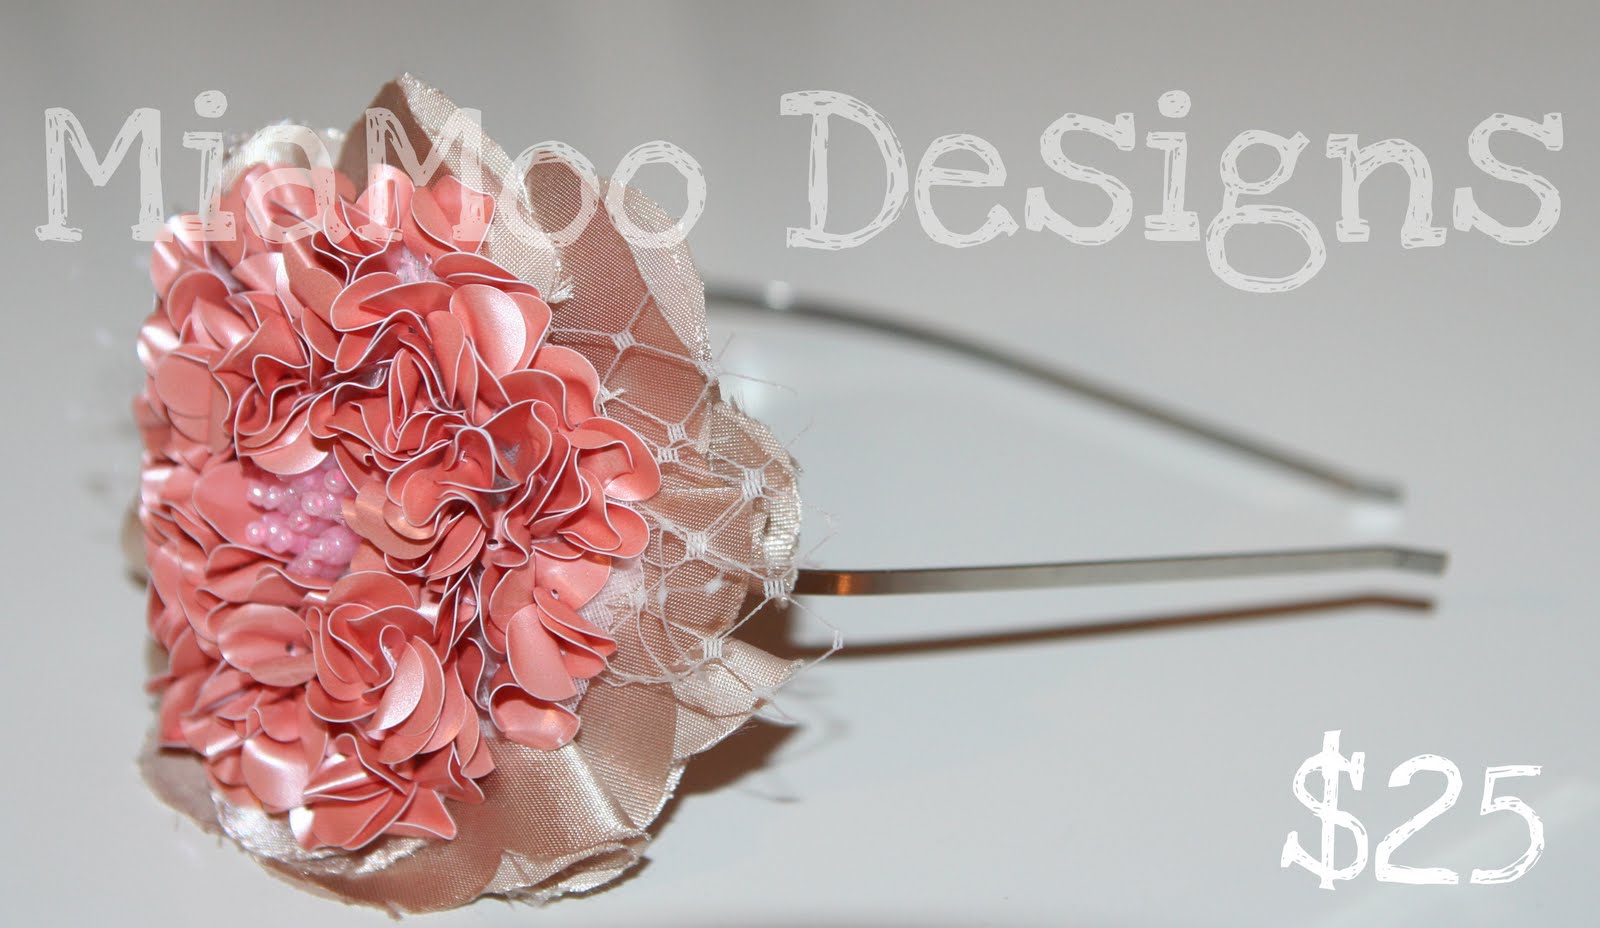
New Headbands for Sale

Wednesday, October 6, 2010
Fun Halloween Accessories
*Double click on collage to view larger*
The other night I made Mia her Halloween Jewels to go with the Halloween skirts I made her. A day or so later, I came across a new blog I hadn't seen before, Brown Paper Packages where I found her tutorial on how to make Pumkin Candy Bracelets. I just HAD to go buy the stuff to make some! TOO CUTE, and what a great idea. It completely took me back to my childhood of loving candy necklaces. I remember as a little girl waiting and waiting for the ice cream man to come so I could get one, and when he didn't come, my dad took me in the car to find him. Gotta love my dad! Anyway, I think these bracelets make a great party favor for any Halloween party for the little ones. I have a few little girls in mind to make these for :)

The other night I made Mia her Halloween Jewels to go with the Halloween skirts I made her. A day or so later, I came across a new blog I hadn't seen before, Brown Paper Packages where I found her tutorial on how to make Pumkin Candy Bracelets. I just HAD to go buy the stuff to make some! TOO CUTE, and what a great idea. It completely took me back to my childhood of loving candy necklaces. I remember as a little girl waiting and waiting for the ice cream man to come so I could get one, and when he didn't come, my dad took me in the car to find him. Gotta love my dad! Anyway, I think these bracelets make a great party favor for any Halloween party for the little ones. I have a few little girls in mind to make these for :)Monday, October 4, 2010
Halloween Twirl Skirt

I've never made a twirl skirt, and to tell you the truth, I didn't even know this was going to be a twirl skirt until it turned into one, LOL. Let me explain...Because the design on the fabric needed to be lined up right, I cut out two pieces (front and back) instead of just one like the skirt in my last post. Anyway, my two pieces were wider than normal, and since Mia's waist is so small it gathered so much that it created a twirl skirt. YAY! I love the way it turned out and it looks so darling on her. In preschool each week, Mia's teacher assigns a new color to go over and likes the kids to wear that color for the week. This week the color is orange so I thought she could wear this skirt with her orange Halloween shirt. I am selling Halloween skirts, so if you would like one for your little one, they are $15 for babies-size 6T and $20 for bigger girls. Let me know!
Sunday, October 3, 2010
Easy Elastic Waistband Halloween Skirt Tutorial
I made this skirt for Mia a couple of weeks ago, but I'm still without a computer so I haven't been able to post it. I thought I would be able to have Geek Squad fix my laptop, but they said I need to get a new computer, so now I'm just waiting till I find the right one. I hate that I haven't been able to use photoshop! So please excuse my unedited photos ;-) This skirt is so easy peasy. I used less than a half yard of fabric, so it was practically free. JoAnne's has Halloween fabric for 30% off right now. Anyway I measured how long I wanted to make the skirt and kept the width of my half yard alone. Basically to make an elastic waistband skirt, you're using a strip of fabric that looks like a rectangle. Next you make a casing for your elastic at the top of your rectangle. You will want to fold and press about a quarter of an inch to hide your raw edge. Next you will want to fold and press again, this time making it the width of your elastic. I usually use 3/4 inch elastic. Next you will want to feed your elastic through the casing you made. It's easier if you use a safety pin at the end of your elastic to feed it through. Once you get both sides through, sew them in place. Now it's time for the side seam. With right sides together pin in place and sew down giving yourself a 1/2 inch seam allowance. Lastly you will want to hem the bottom of your skirt. You will want to fold and press about a 1/2 inch along the bottom and repeat. Pin in place and sew your hem down. All done! Hope that helps. Let me know if any of my directions are confusing and I can clarify through email :) When I started this post I wasn't planning on doing a tutorial so it's a little unorganized. This is a great beginning project to start out with if you are a beginner sewer. Mia just LOVES this skirt. She and her cousin picked out the fabric. It has little witch hats all over it if you can't tell by the picture.

Subscribe to:
Posts (Atom)